Sunday 27 October 2013

Week 43 - Last Minute Stretch

Another late one this week as I have had my nose to the grindstone (or sewing machine in this case) working on my costume for Halloween. So far I have made decent progress on a vest and complete a pair of trousers and goggles. I also whipped up some earrings for the wife's costume. The photos are below.

The hat needs some more work...


The vest still needs more work, primarily it needs ironing flat, followed by adding buttons. I didn't have the interfacing to make the front panels stick together, which makes it a bit baggy. I also stuffed up the first one, as it turns out linings are a real pain to do, especially when they have one particular side to use. I'm not totally happy with it either. I feel like it needs something more.


Then again that may be just because it isn't finished yet. Who knows. I need to spend tomorrow working on the terrain boards. I can work on the vest during the week, in time to finish up for the party on Friday.

Sunday 20 October 2013

Interlude - Zombicide Season 2 Kickstarter Un-boxing

Almost missed this weeks post, oops! I didn't finish anything new this week so instead I will go through some of my latest acquisition:
Flash drive for scale, the box is huge!
Ooh shiny...
So I did a quick check and all the appropriate boxes were shipped to me, but when I opened up the Prison Outbreak box it was missing some of the card pieces... In particular the shiny new features special to that version. Darn... So that has to sit on the shelf while I wait for replacement parts.

I have just enough time to go through two of the smaller, canine expansions though! First up is Zombie Dogz.

Nice little box.
Look at all the zombie doggies!

So this is a neat little expansion if you have the main game. Basically you get 20 zombie dogs and spawning cards to add them to your games. What is special about them is that they activate 3 times per turn... Making them a serious threat, they are also targeted last, so they hide behind other zombies in the same square.

3 sets of cards, in 3 different languages. This is a nice way to handle it, since crazy people can just throw all of the cards in at once...
The undead dogz themselves.
The sculpts are kind of cool coming in 4 unique designs and 3(?) breeds. Each is made of two parts, base with centre peg and dog, so they are really easy to re-base for something else. They should be easy to paint up as well.

So you can't have undead dogs without first having live dogs, so there is the canine companion expansion as well.
A very small box

This expansion comes with 6 dogs in two different colours and three different breeds. Each breed has slightly different stats and they behave as 'mini survivors' and as equipment. So the dogs can fetch gear for you or kill zombies at range. They should be a fun little add-on.


The sculpts are nice and they are detachable from their bases as well. All in all should be a quick job getting these guys painted.

There is plenty more in this box to go through but I still have to sit down and read all the new rules first and get in a couple games. With a long weekend coming up I have quite a bit to get done. This should at least make next weeks post a little more interesting!

Sunday 13 October 2013

Week 41 - Concrete Playground WIP

So there isn't much progress to report this week on the painting front but I can show some WIP shots of my concrete terrain board. I kind of got sick of cutting out MDF squares so instead of just concrete I have added in some roads too. I used 150 grit sandpaper (wet and dry to reduce warping with PVA) and it looks pretty good already. I need to give it a coat of paint pretty quickly though as I have already scraped my hands on it a couple times... Supposedly the paint takes the edge off, failing that I will give it a wipe with watered down PVA.


As you can see I still need to trim up the edges. There are four boards in total, each with a pseudo-random tile pattern (to reduce pre-measuring) and the plan is to go and work in some cracks and other features once everything is nice and set. I may even be able to get the boards out to the club tomorrow night for a quick test run, That mostly depends on getting some paint on the roads though.

Other than that I got the rest of the plasticard I need for the shipping containers, I hope to get the first 8 done next week but the priority is doing the board. I can always use the club terrain (and stuff from the other infinity players) at Rallypoint. Luckily there is a public holiday this month so I may even be able to get more done than I dare hope! I also got some new Haqqislam models which are being tacked to bases in time for club. We may even be able to ramp up to 150 points properly now. I also finally got confirmation that my Zombicide S2 has been shipped, which is something to look forward to, hopefully by the end of this week...

Sunday 6 October 2013

Week 40 - A Change of Plans

So I missed last weeks post as I was out of town for most of the weekend. To make up for it I finally finished up part two of the animal print tutorial and posted it earlier today. Enjoy. This is also the first full run with the lighting setup and I did finish up one more werewolf for the tutorial so here is the result.


So I spent most of this week working on shipping containers, right up until I ran out of plasticard that is... I have 8 ready for door details and a further 22 waiting for plasticard to do the trim. I am slightly concerned that the PVA doesn't really stick to the plastic though, I may have to adjust how I attach things when I find a replacement adhesive... I also fired up my new scroll saw today and cut out the first 'container pile.' This is the largest one I intend to make as a 3x3x3 stack. To make the next set I need more MDF but I also need more for the base board so that isn't a big issue.

I want to get as much done as I can in time for Rallypoint (November 2nd-3rd) so I can play some Infinity all weekend. This may be rather challenging with everything else going on but I'm always up for a challenge! The other thing I am working on is a steampunk costume for a workmates 50th, held at the end of January. The rush on this is that the wife (who also needs a steampunk costume) would like to wear it for her work do for Halloween. Which puts a time crunch on a little bit, since the deadlines are for about the same time. Luckily the mother-in-law has taken on the wife's costume, so I just have to work on my own costume. I've picked up all the materials so it is just a time issue. The plan is to focus on the major pieces first and then do the smaller details. So the first jobs are modifying some trousers I own and then making the vest. After that is the hat and goggles. Everything beyond that is just extra to finish it off, but unlikely to be done in time for Halloween!

With all this going on it is incredibly unlikely that I will get to 500 models painted. But you never know. Dreadball season 3 should have shipped and I have no idea what is happening with Zombicide any more... Then there is Deadzone in a month, followed by Robotech. If all goes well of course.

Day 279
369/279 Painted/Days passed
369/366 Painted/Target (100.8%)
50/50 Dreadball: Season 1(100%)
6/6 Mercs - Kezai Wazza (100%)
71/71 Zombicide! (100%)
31/31 Dystopian Wars - Republique of France (100%)
7/7 Infinity - Haqqislam (100%)
48/54 Dreadball: Season 2 (88.9%)
32/40 Blindwater Congregation (80.0%)
11/18 Malifaux - Kirai Crew (61.1%)
89/150 Corporation Marines (59.3%)
21/89 Forge Fathers (23.6%)
1/85 Kings of War - Abyssal Dwarves (1.2%)
2/474 Kings of War - Undead (0.4%)

Tutorial - How to Paint Animal Print Part 2: Spots

So it has been a little while since I did part 1 of the animal print tutorials so if you want to get started look at part one 
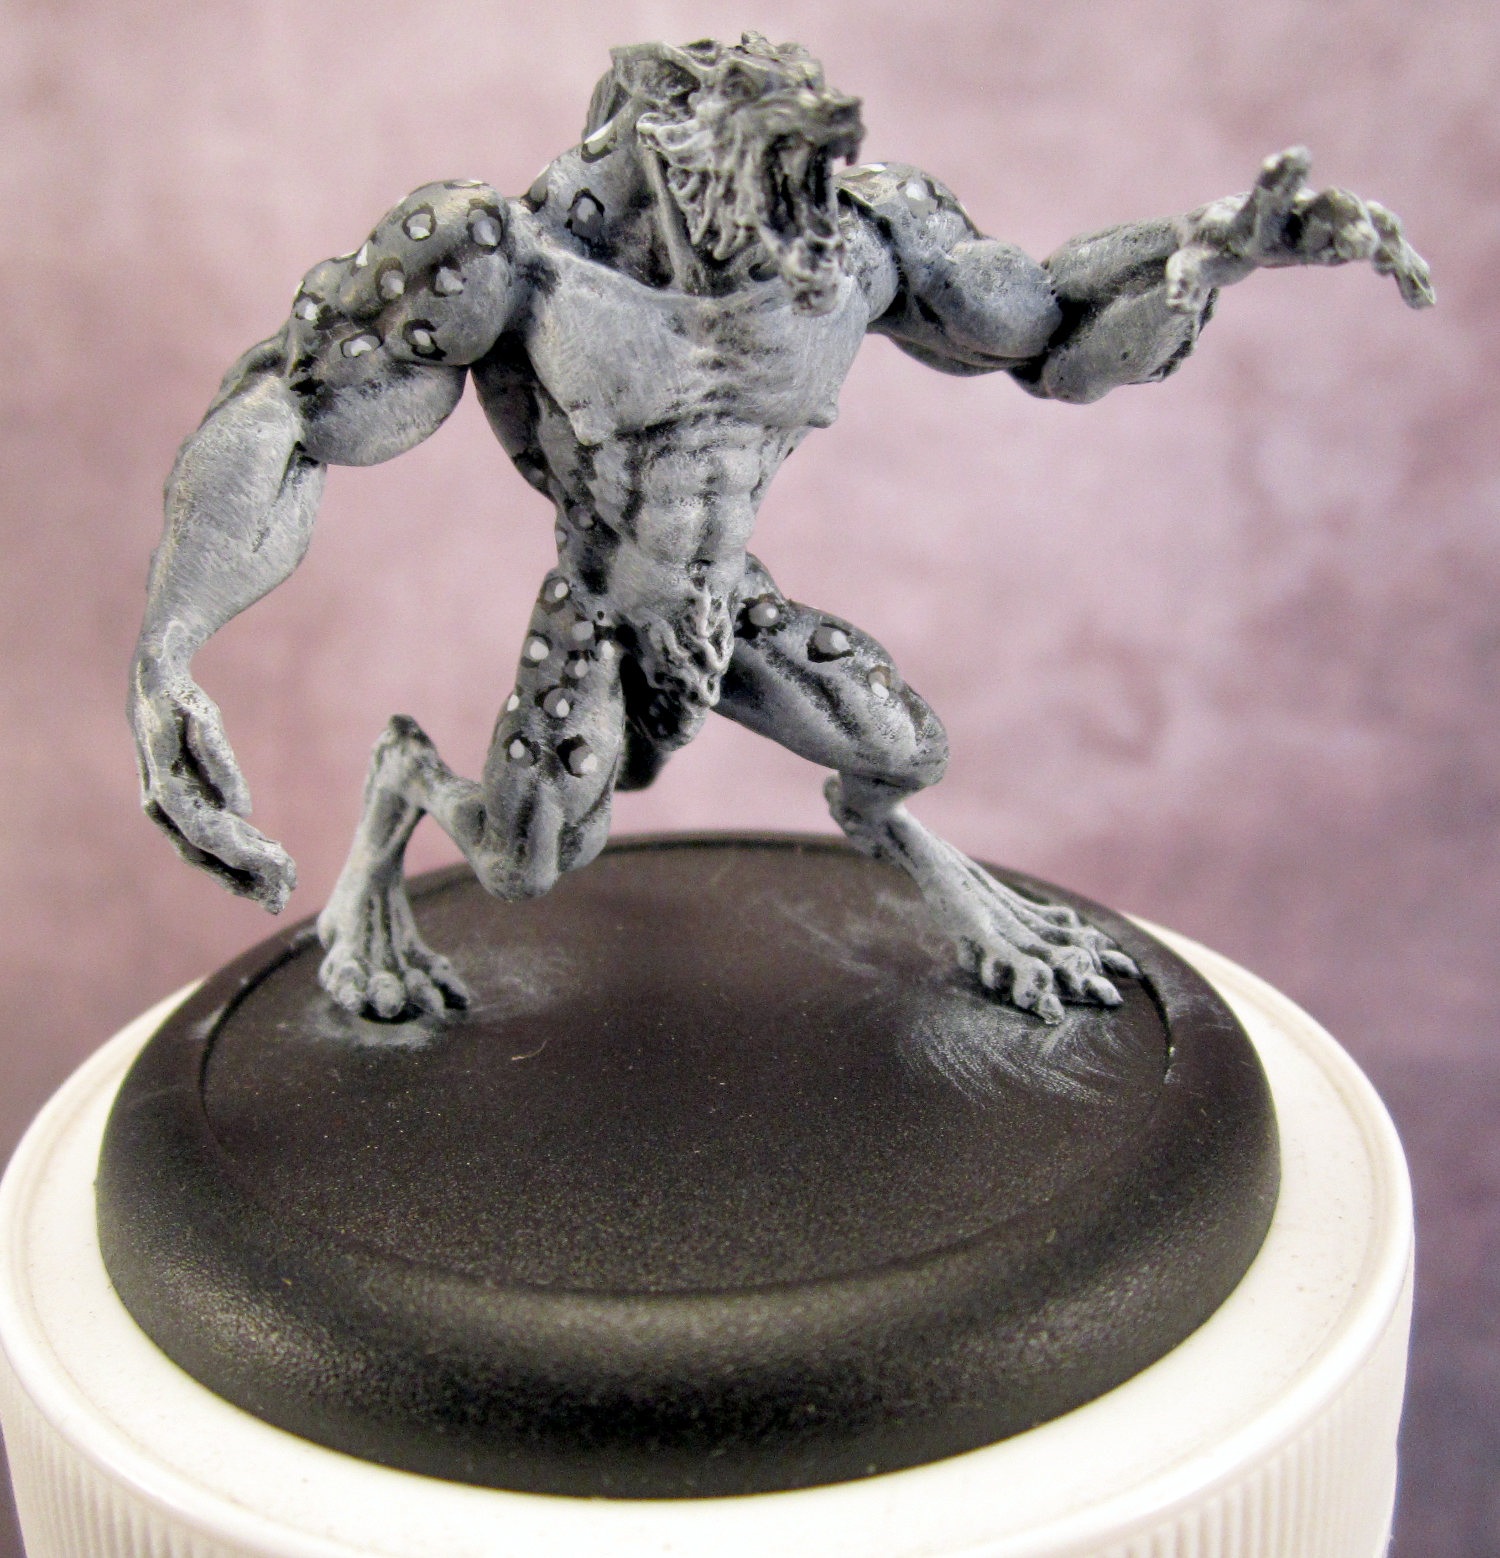
here. The first picture I have below is the base stage, the fur blending is complete and just waiting for the patterning step. This time round I will be doing leopard spots, should there be sufficient interest I will go into some of the rarer patterns in a third instalment of these tutorials.
0. This is the base stage, what I would call a table ready fur for non-printed animals.
1. When starting patterns of any kind it is important to have a stock reference. This will make it far more realistic looking (if that is what you are going for) and generally help you make the pattern look more natural. In the image above you can see that the spots aren't uniform in shape, vary in colour and don't form neat little lines, they actually form triangles!
2. To start my leopard print off I have painted three large irregular spots on the models back. This is my starting point and from here I add more spots, each forming a triangle with two other spots already on the model. In this case I am also trying to make the spots smaller as they approach the white areas as I want to leave the front of the model mostly spot free.
3. This set of shots shows the progression of the spots as I work around the model. When I come back to finish this piece I will do much smaller spots around the edges to more gradually blend the spots back in to the fur.
4. The next step is to go back over your spots with a lighter tone. This will depend on the effect you want and the colours you are using. I have used a lighter grey than the back fur in order to make the spots more prominent. In hindsight the main fur tone could probably be a bit lighter but is fine for this tutorial. When painting these lighter spots they should overlap the base spots in places and generally be irregular. Try not to have them all make 'C' shapes in the same direction, mix it up a bit and vary how much of the black is visible.
5. Make sure to find all those black spots you did on your first pass, there will be someone who cant resist pointing out 'you missed a spot' in just about every gaming group!
6. We repeat the previous step again but this time with an even lighter shade. I have jumped straight to white but probably could have just used a lighter grey. This set of spots should be fairly small but still just as irregular as the last.  Try to overlap both of the previous layers rather than doing all of them in the middle. This is the last colour of spot I will be doing (as I used white) but for the super keen you could do a fourth set. If you did a fourth set I would suggest only doing raised edges as this will act like a natural highlight.
7. So that is how to paint leopard spots! With the larger spots done the next step would be to go back and do smaller spots on the edges. As these will be much smaller most wont have the white and the smallest wont get any grey either. If you find that your spots are too bright you can go back and daub a wash selectively on the spots in order to darken them up a bit.
8. So this is the final product. The smaller transition spots really improve the overall look and the final touches just finish it up quite nicely.

The important things to remember here are:

  1. Keep your reference handy.
  2. Irregular shapes look more natural.
  3. Watch your spacings, don't let your spots/stripes creep closer together as you go...
  4. Practice!
Practice is the important bit to take away from this. The tiger I did in the last tutorial could have done with more space between the stripes but I didn't have a reference handy so things drifted together a bit... Which is why having a reference is top of the list! Next time I will go over some more specific patterns, like these:
Until next time!